
How to Stack Rings: Styles, Tips & Common Mistakes


Ring stacking is the art of layering multiple rings on one or more fingers to create a look that feels personal, balanced, and uniquely yours. Stacking seems simple, until you’re staring at a bunch of bands that don’t sit right, clash in tone, or just feel off.
Here’s what actually works:
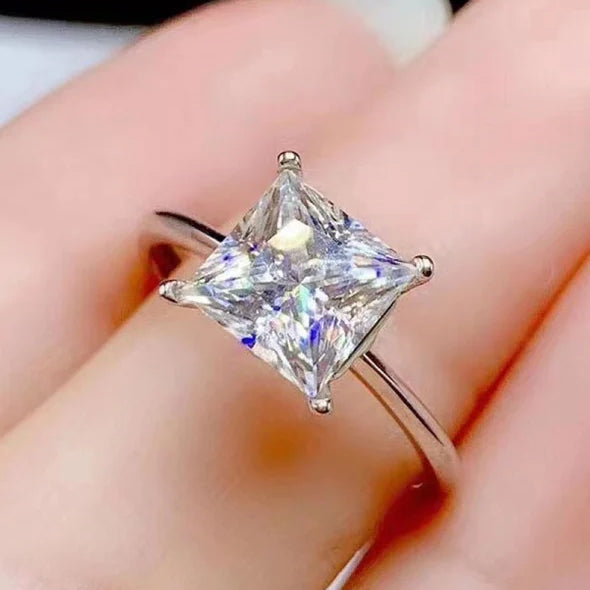
- Start with one standout ring. That could be your engagement ring, a bold diamond band, or a unique colored stone.
- Stack with rings that fit flush, feel balanced, and don’t rub or pinch.
- Mix metals and shapes with intention, not just variety.
The best stacks come together when you have a clear vision and the right guidance. At Mikado, we help you design engagement rings and select diamonds that serve as stunning centerpieces for any stack. Our virtual consultations walk you through center stone options, design details, and custom elements, so you can shop online with the same confidence you’d have in person.
Want to build a stack that tells your story? Keep reading. This guide will walk you through how to do it right.
What Is Ring Stacking, Really?

Ring stacking is the art of wearing multiple rings on a single finger (or across several) in a way that feels personal, intentional, and wearable.
For some, it starts with their engagement ring. For others, it begins with a spontaneous gift or a quiet milestone.
Over the years, we’ve seen clients build stacks for every reason you can imagine, anniversaries, new babies, career wins, fresh starts. Some go bold with chunky diamond bands. Others stick to dainty rings and soft textures. Either way, the goal is the same: make your hands look and feel like yours.
Step 1: Choose Your Anchor Ring

Every great stack has a focal point. Usually, that’s your engagement ring, but it doesn’t have to be.
A colorful diamond, a rare-cut lab-grown gem (we’ve done some incredible stacks around kite and lozenge shapes), or even a vintage-inspired band can take center stage.
The anchor ring sets the tone, modern, romantic, edgy, subtle, and everything else should build around it, not compete with it.
We often start clients with a digital mockup of their existing ring, then layer on stacking bands to find the right balance visually and physically.
Step 2: Layer With Purpose, Not Pressure
Here’s where most people get overwhelmed. They start adding rings without a plan, suddenly, nothing fits, bands are rubbing, and it feels like too much.
Here’s what we recommend:
- Use odd numbers for visual balance
- Don’t stack on every finger, leave space for the eye to rest
- Mix skinny and wide bands for texture and structure
- Be okay with gaps, negative space can make a stack feel intentional, not crowded
We also coach our clients through what not to do: avoid stacking two statement rings next to each other, and don’t try to match every detail. A little contrast gives your stack personality.
Step 3: Metals, Textures & Themes
Yes, you can mix metals. But don’t just throw rose, yellow, and white gold together without a plan. Choose a primary tone, something that flatters your skin, and add one accent metal if you want contrast.
Textured bands are our not-so-secret weapon here. A plain knife-edge next to a diamond pavé? Beautiful. A brushed gold band under a hidden halo? Chef’s kiss.
We’ve also seen great results when clients build a stack around a visual theme. For some, that’s symmetry. For others, it’s all-round shapes, or only lab-grown gems. The stack works when there’s a “why” behind it.
Step 4: Fit Comes First, Always
This is where we see the most mistakes. If your rings don’t fit properly, especially in a stack, you’ll end up with discomfort, sliding, or even damage to your stones.
Here’s what we teach during consults:
- Wider bands? Size up slightly.
- Mixing band widths? Keep the thickest at the base.
- Finger size changes during the day, don’t stack too tight in the morning.
- Too loose? You’ll get slippage, rubbing, or that off-balance feel.
We’ll help you measure and adjust. Mikado clients get free ring sizing and tailored fit guidance, especially if you’re stacking across multiple fingers or combining different metals.
Step 5: Use Height and Shape to Create Balance
Stacking isn’t just horizontal, it’s vertical, too. If all your rings sit flat or all rise high, your stack can look awkward or feel clunky. That’s why we recommend stacking with an eye toward height variation.
Think of your fingers like a skyline. One finger might have a higher stack (your engagement ring plus two bands), while the ones beside it carry shorter, daintier rings.
This creates natural visual symmetry, what we call “stacking in a triangle.”
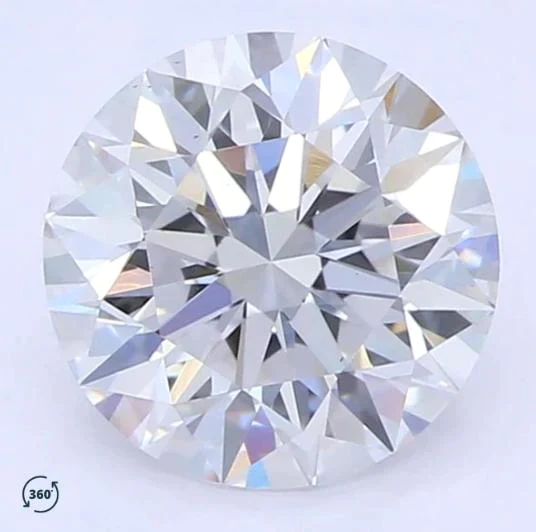
How Lab-Grown Diamonds Elevate Your Stack

One of the biggest changes we’ve seen in stacking trends is the growing popularity of lab-grown diamonds. And it’s not just because they cost less. It’s because they open up so many creative possibilities.
Lab-grown diamonds are real diamonds. They have the same structure, brilliance, and beauty as mined diamonds. The difference is they offer more freedom. You can choose a larger carat size, a unique shape, or a colorful stone without hitting the price ceiling.
Why lab-grown works so well for stacking:
- More carats, more presence. A 2 or 3 carat lab-grown diamond creates a stunning focal point for your stack, especially in oval, radiant, or kite cuts.
- Design without limits. Lozenge shapes, fancy colors, custom band pairings. Lab-grown makes all of it possible.
- Better value. You don’t have to trade off quality or ethics to stay within budget.
- Strong enough for daily wear. Lab-grown diamonds are just as durable as mined diamonds. They’re made to last, even in layered stacks.
At Mikado, some of our most creative and personal stacks begin with lab-grown stones. They give you the power to build something that feels bold, balanced, and completely your own.
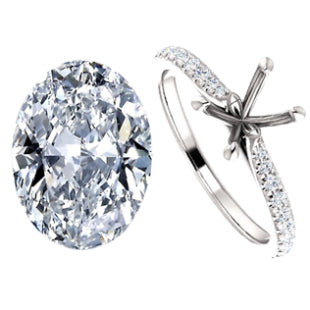
What Rings Pair Best With an Oval Engagement Ring?
Oval engagement rings are one of the most popular styles we see, and for good reason. They're timeless but modern, flattering on every hand shape, and offer a little extra sparkle surface.
But they can be tricky to stack. Because of the length of the stone, standard straight bands might not sit flush. In that case, we recommend:
- Curved bands that follow the oval’s contour
- Chevron or crown bands that frame the center stone
- Thin, low-profile rings that slip beneath the stone without bumping
We design these specifically with lab-grown ovals in mind, so you don’t end up with a stack that looks great from the top but feels bulky from the side.
Do Wedding Bands Need to Match the Engagement Ring?

Short answer: no. Long answer: only if you want them to.
Matching can be beautiful. A flush-fit band that mirrors your engagement ring’s shape or stone setting creates a clean, seamless look. But more and more of our clients are going for contrast, especially when stacking.
Some want to offset a minimalist solitaire with a bold diamond band. Others use different metals to create visual layers. One client paired a radiant-cut solitaire with a thin pink diamond band and a brushed yellow gold accent. It looked incredible, and totally hers.
At Mikado, we’re big on reminding clients that a “set” doesn’t have to match to belong together. It just has to feel like you.
What Finger Is Best for Stacking?
Traditionally, most people stack rings on the ring finger of the left hand, but that’s far from the only option.
Here’s what we’ve seen work:
- Ring finger: for engagement/wedding stacks
- Middle finger: great for symmetry and bold bands
- Index finger: ideal for thicker statement rings
- Pinky: underused but super chic with dainty styles
- Above-the-knuckle (midi rings): perfect for texture and layering above main stacks
We guide clients through sizing and proportion for each finger, since each one varies in shape, width, and how it holds a stack. Some stacks are meant to anchor. Others are meant to roam.
Why Mikado Clients Love Their Stacks

We don’t believe in mass-producing stories. Every ring we help design starts with a conversation. We listen. We guide. We walk you through how a diamond or setting will look, how it will wear, and how it can evolve into part of a meaningful stack.
What sets our approach apart:
- Personalized guidance on ring design, shape, and style
- Access to custom-cut lab-grown diamonds, including rare shapes
- Honest insight into comfort, fit, and long-term wearability
- Options for personal engraving, ethical sourcing, and colored lab stones
- Affordable luxury without the sales pitch
We’re not just here to sell you rings. We’re here to help you build something thoughtful and lasting.
Book a free virtual consultation with us. You’ll meet with a real person, get answers to your design questions, and walk away with clarity around what fits your style and budget.
Mikado Collection
Hand Crafted Engagement Rings, Loose Natural and Lab-Grown Diamonds and a Fashion Jewelry Collection of Rings, Necklaces, Bracelets, and Earrings.

Complete Engagement Rings
Choose a ring with a diamond hand selected by a trained jeweler.


Loose Diamonds
Shop a huge selection of certified natural or lab-grown diamonds. On Sale Now!

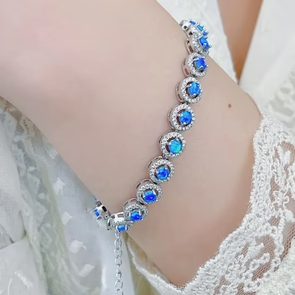
Fashion Jewelry
Fashion rings, necklaces, bracelets & earrings. Take your style to a new level.


Comments